Once an image is on your computer, there are two ways to include it in your story.
3a. Insert the image as your featured image.
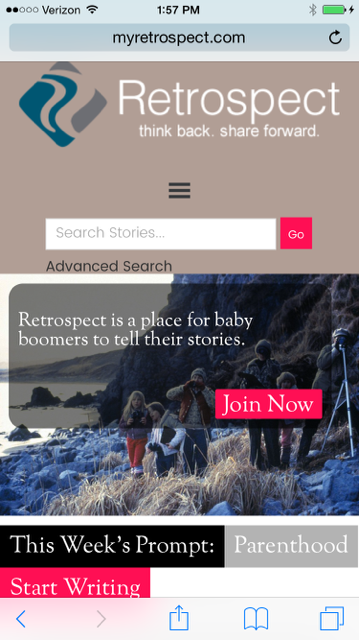
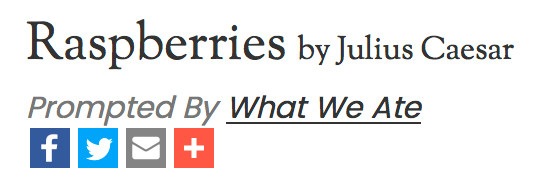
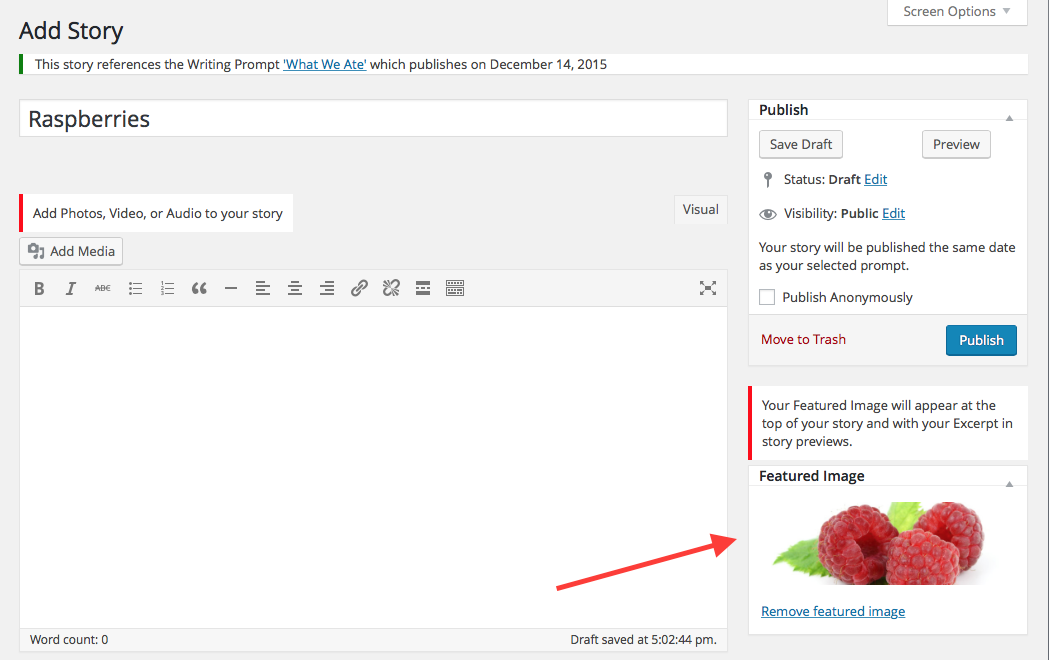
Your featured image is meant to give readers a clue to what the story is about. This image will appear: 1) at the top of the story; 2) on the home page when that prompt is current; and 3) as a thumbnail in a list of stories.
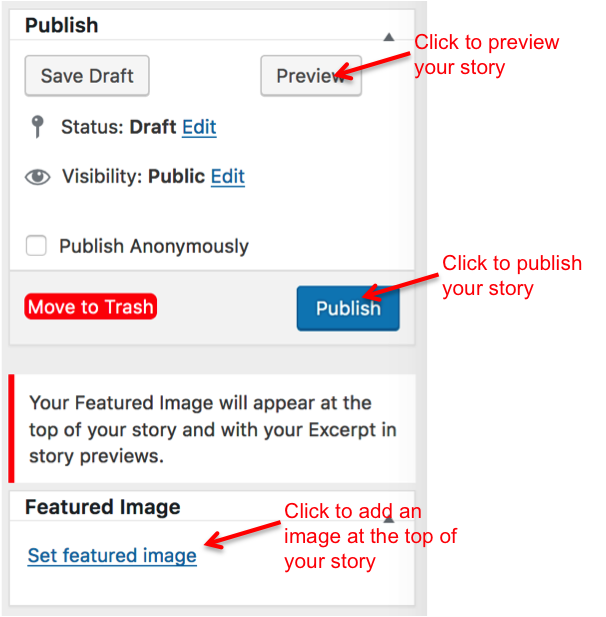
From the Add Story page, click Set featured image to go back to your Media Library, where you can select an image you’ve already uploaded.
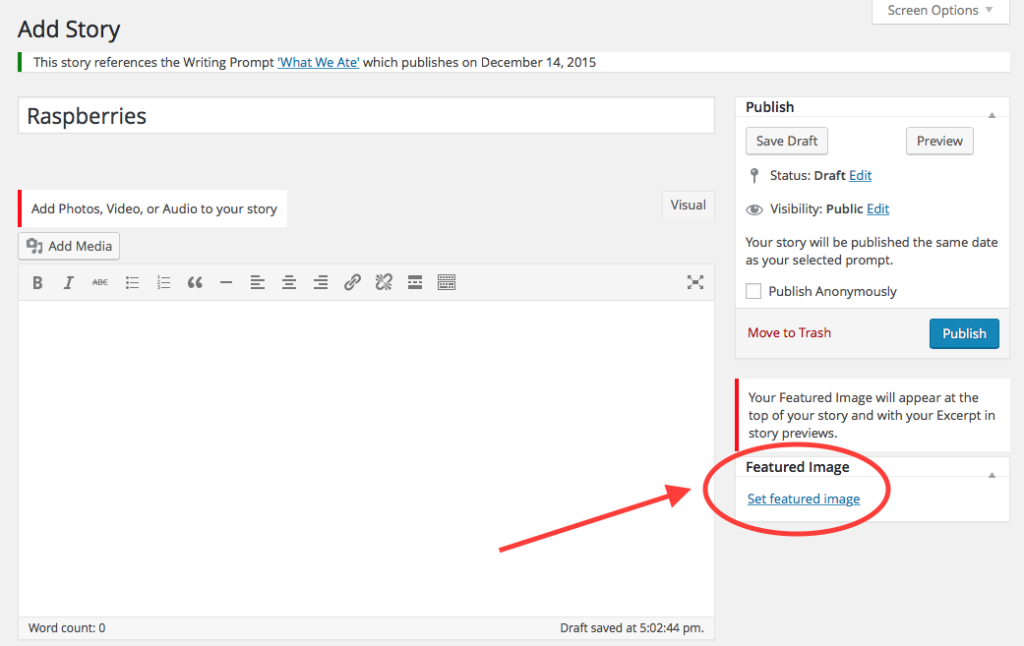
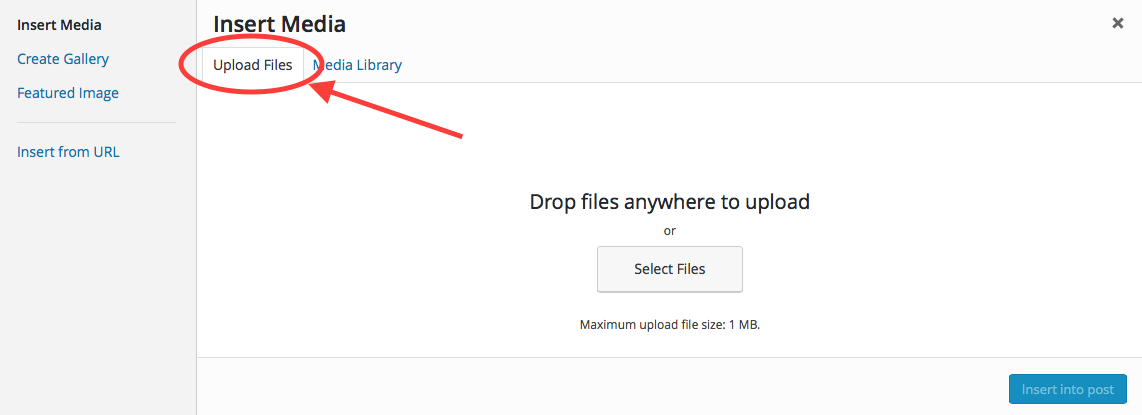
(If you haven’t uploaded your image yet, you can upload or drag and drop it from your computer as explained in step 2.)


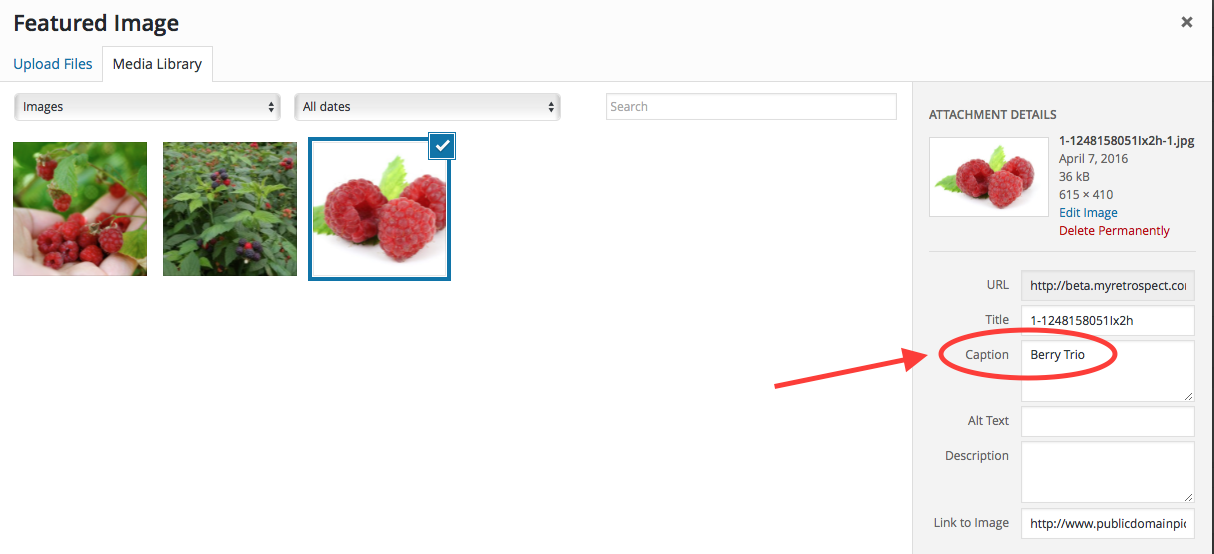
Click the featured image you want (a checkmark will appear). If you wish, enter a caption for the image in the Attachment Details section on the right. Then click Set featured image at the bottom right. You’ll see the image under Featured Image on the right side of the Add Story page.

If you don’t set a featured image, but your story contains other images, Retrospect will select the first one to use on the home page and as a thumbnail.
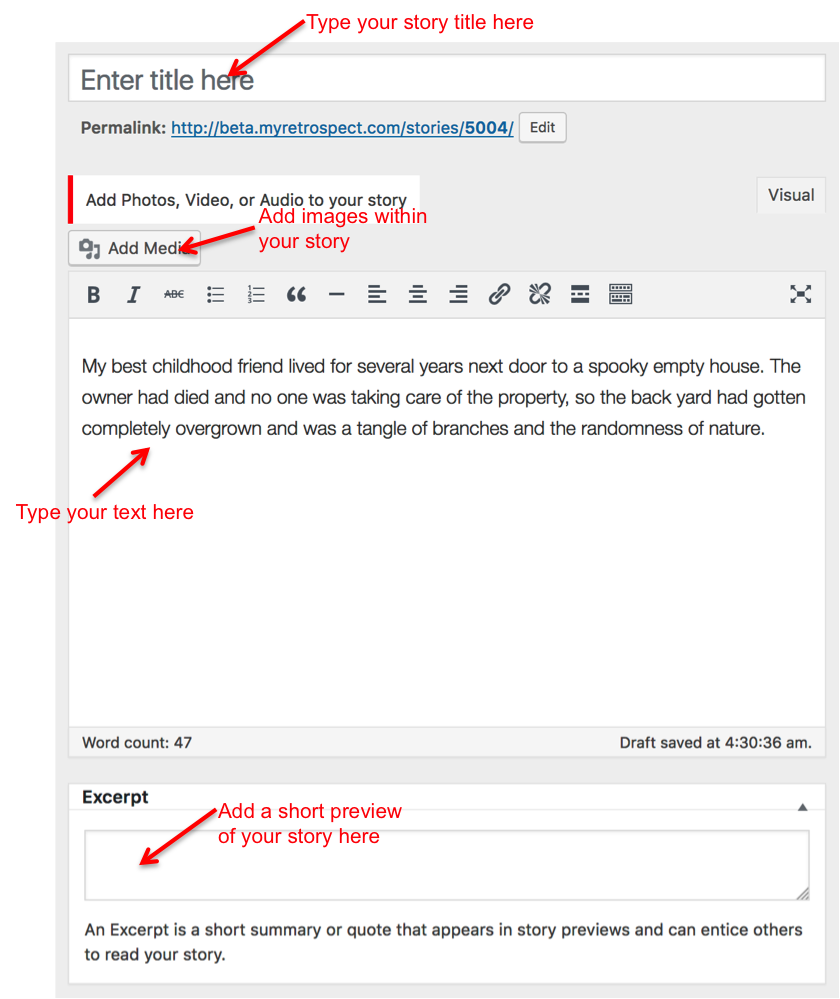
3b. Embed the image within your story.
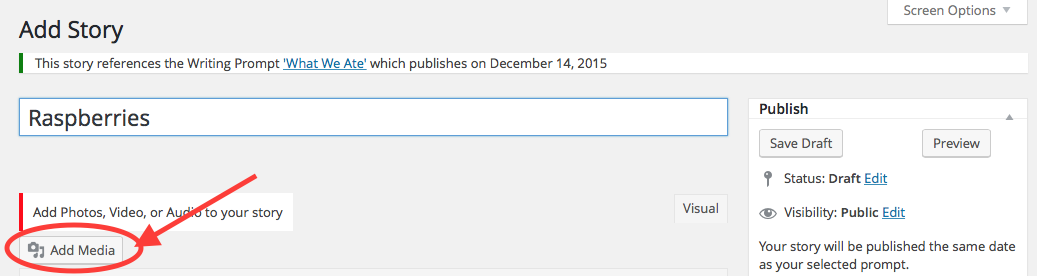
To embed images within your story, put your cursor where you want to insert an image and click Add Media.
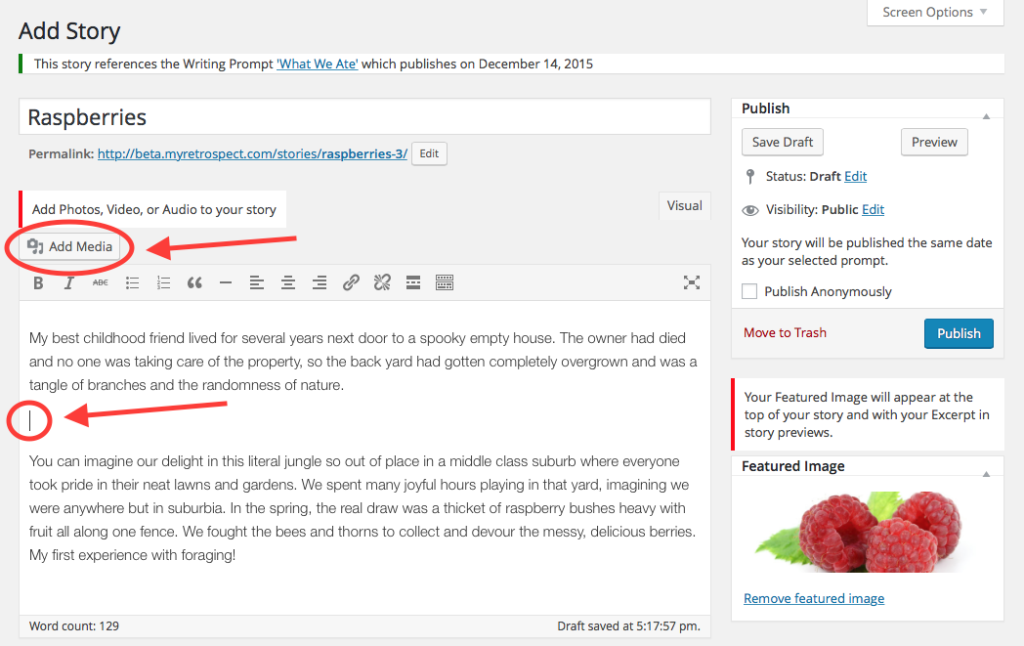
Again you’ll see your Media Library, where you can click to select an image or upload a new one.

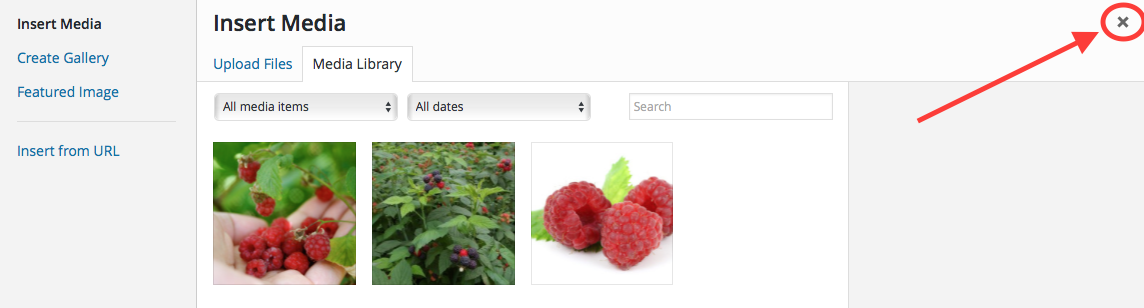
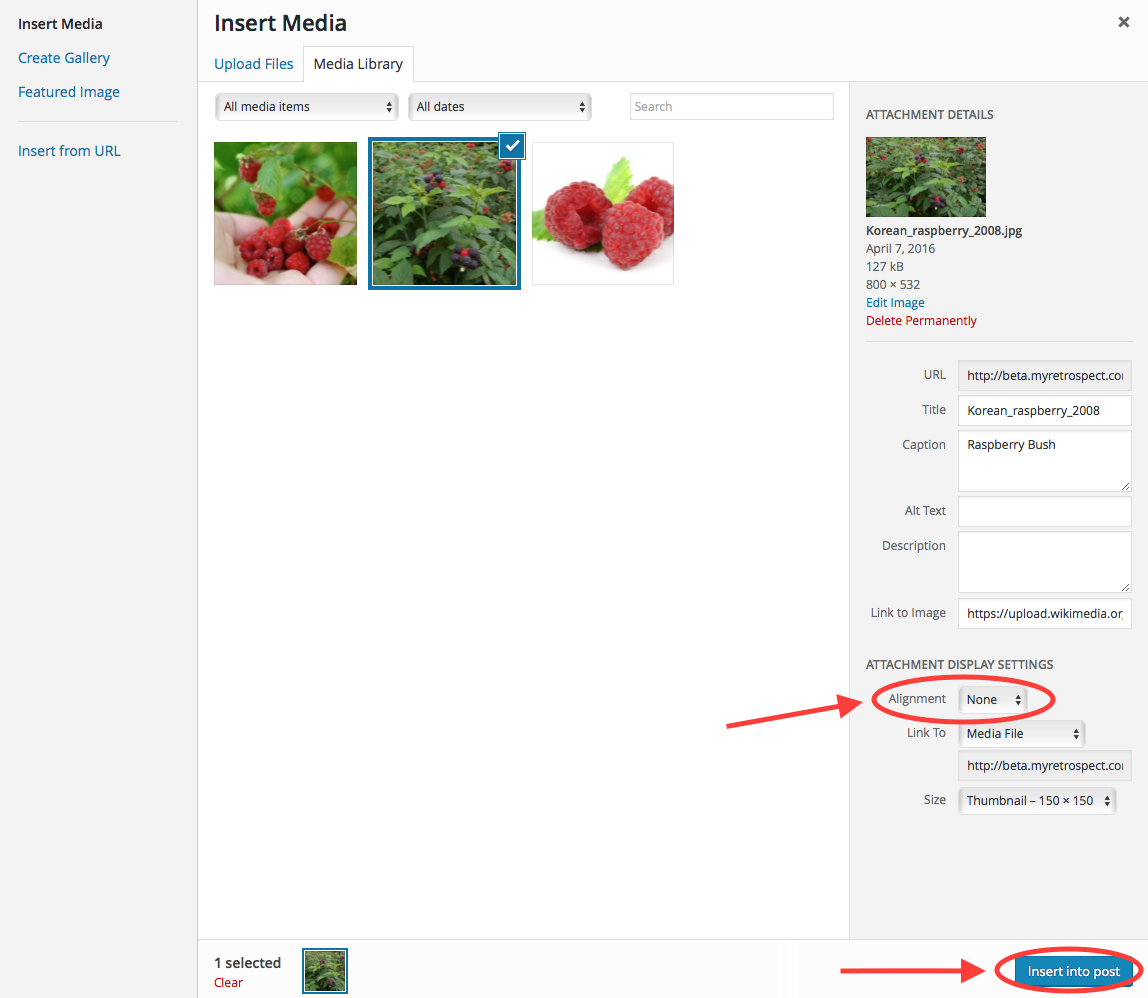
Once you select your image (a checkmark will appear), Attachment Details will appear on the right.
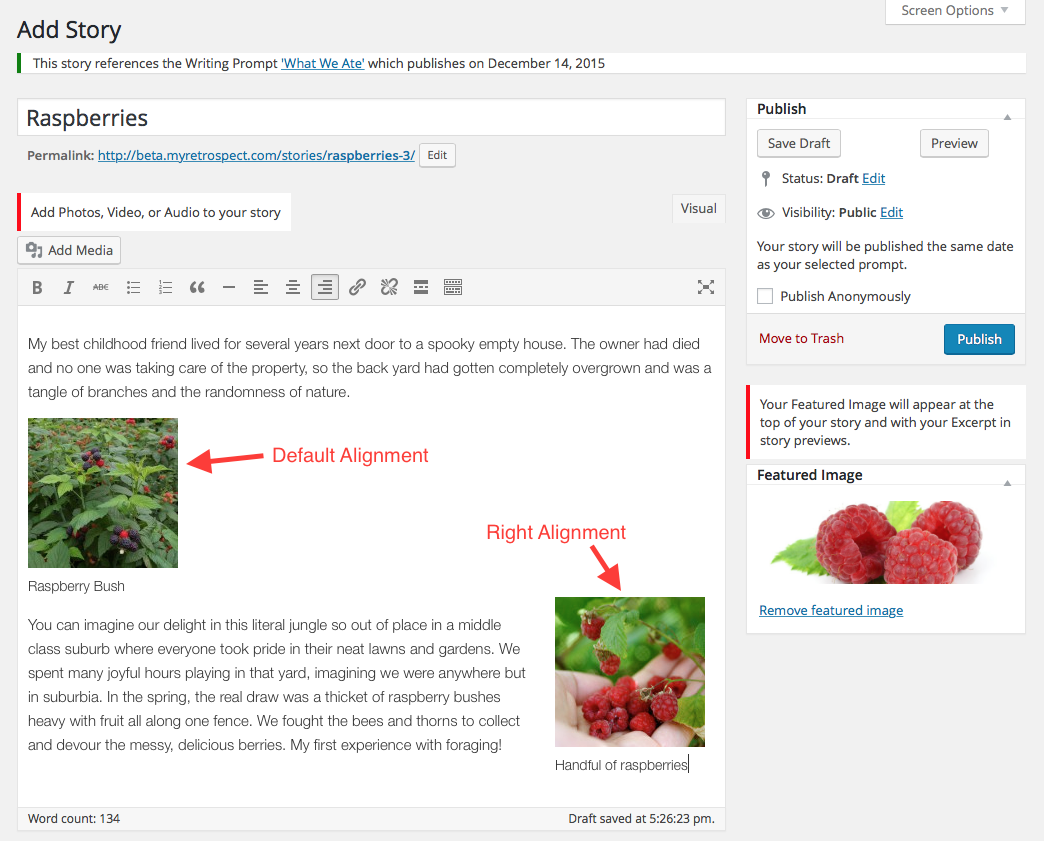
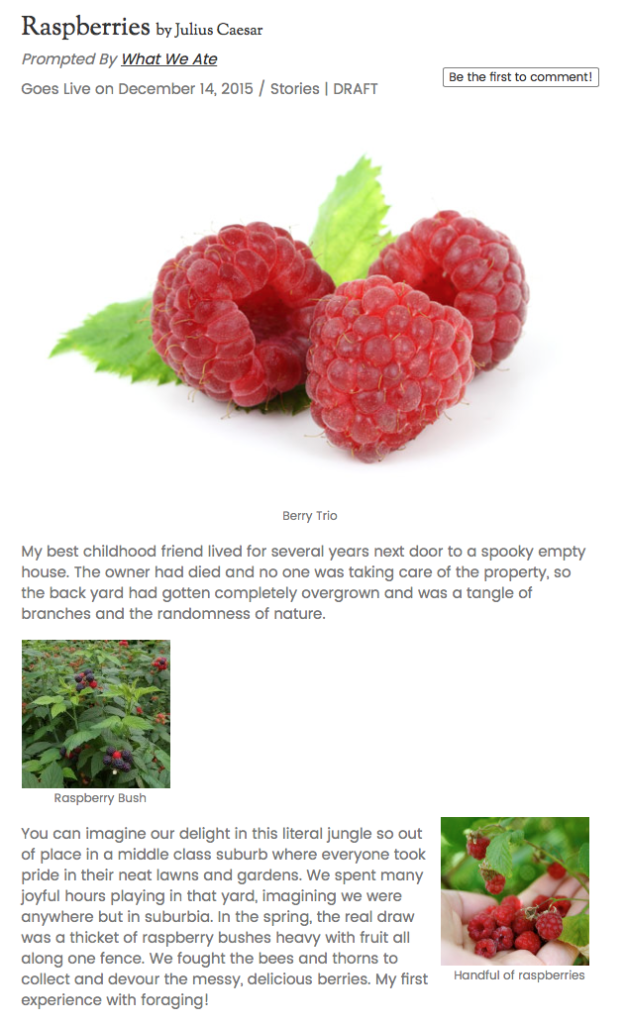
By default, your image will appear left-aligned in your story, occupying its own vertical space. You can also flow text around it if you wish. Below the caption field, under Attachment Display Settings, set Alignment to Left or Right or Center and Size to Medium or Thumbnail.
When you’re done with Attachment Details, click Insert Into Post at the bottom right. Back on the Add Story page, your picture will appear in the main text box, wherever the cursor was. You can drag it elsewhere if you wish. Lather, rinse, repeat.

Play around with image placement and alignment until you’re happy with it.
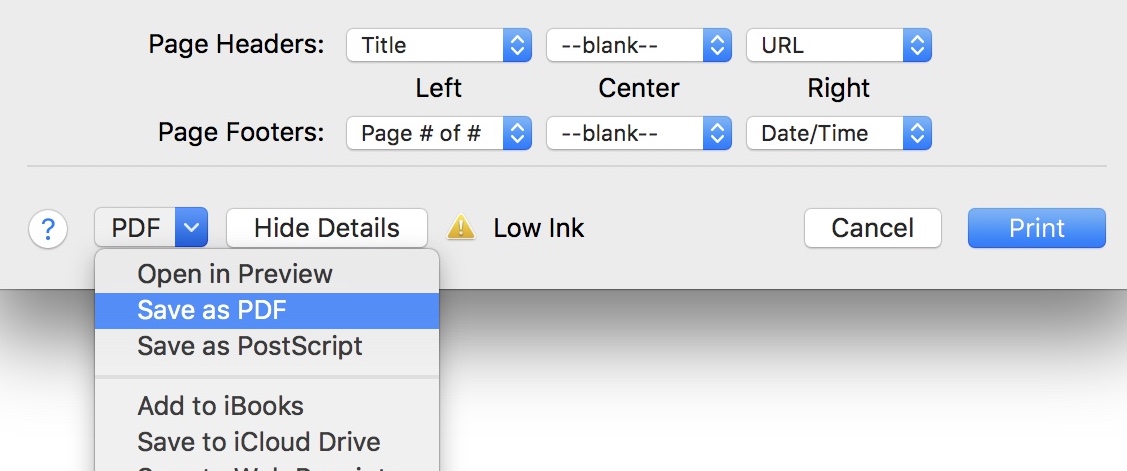
Preview your story
Before publishing your story, you can always click Preview to see how it will appear in Retrospect.
Go back to:
Step 1. Get the photo onto your computer.
Step 2. Upload the image into your Media Library.


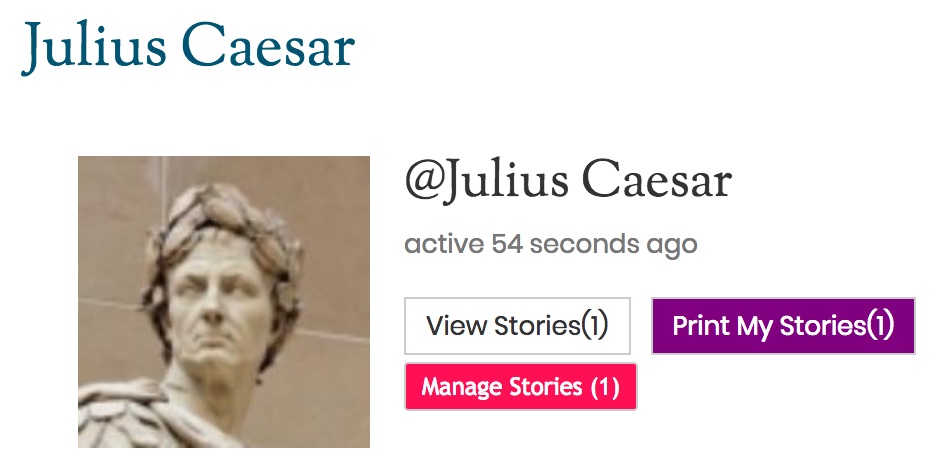
 Sign into Retrospect, pull down the menu from your name at the top right, and click My Profile.